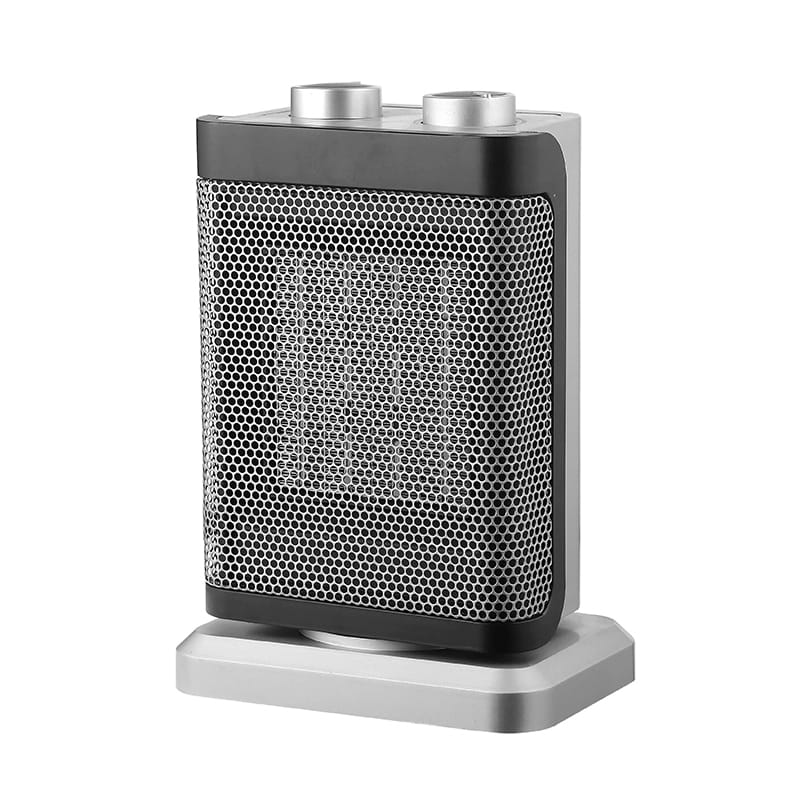
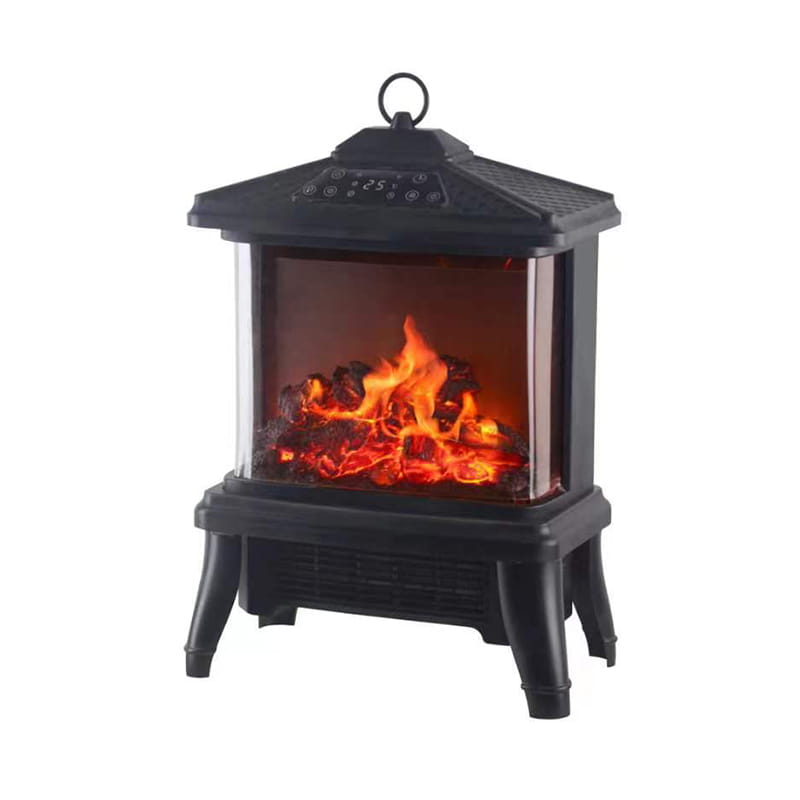
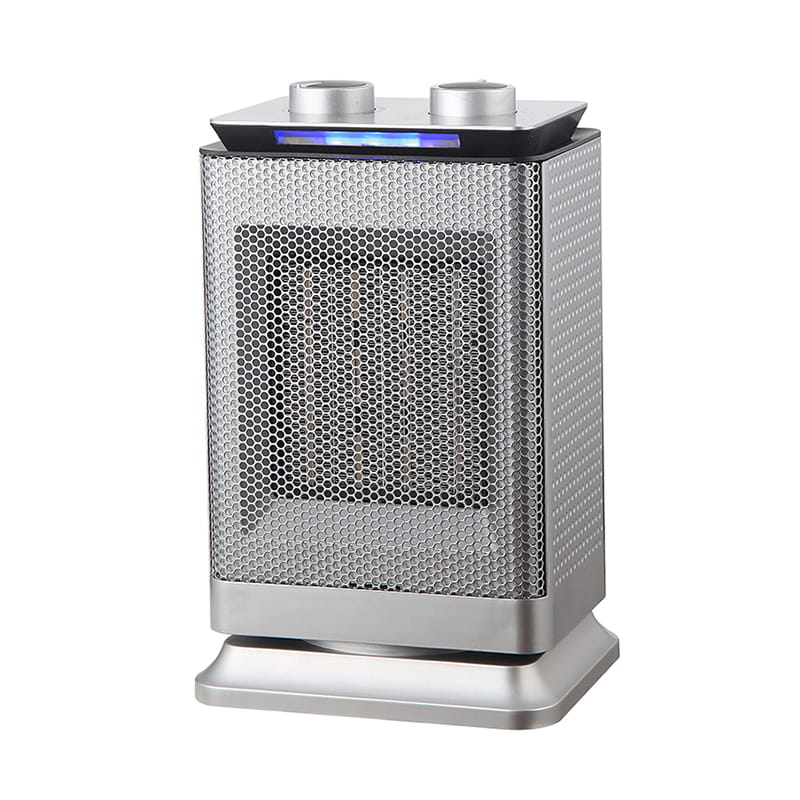
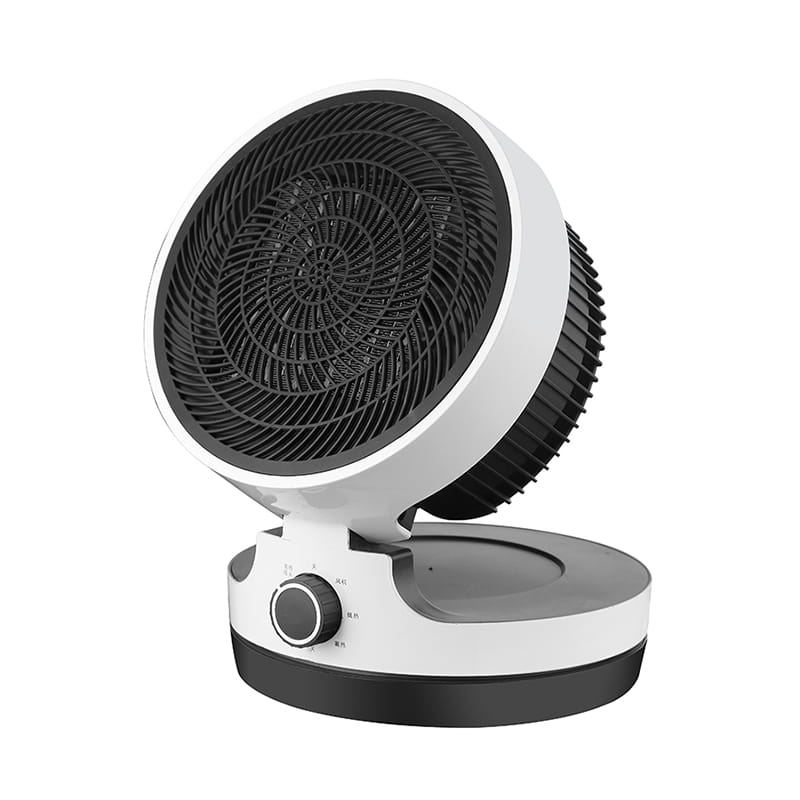
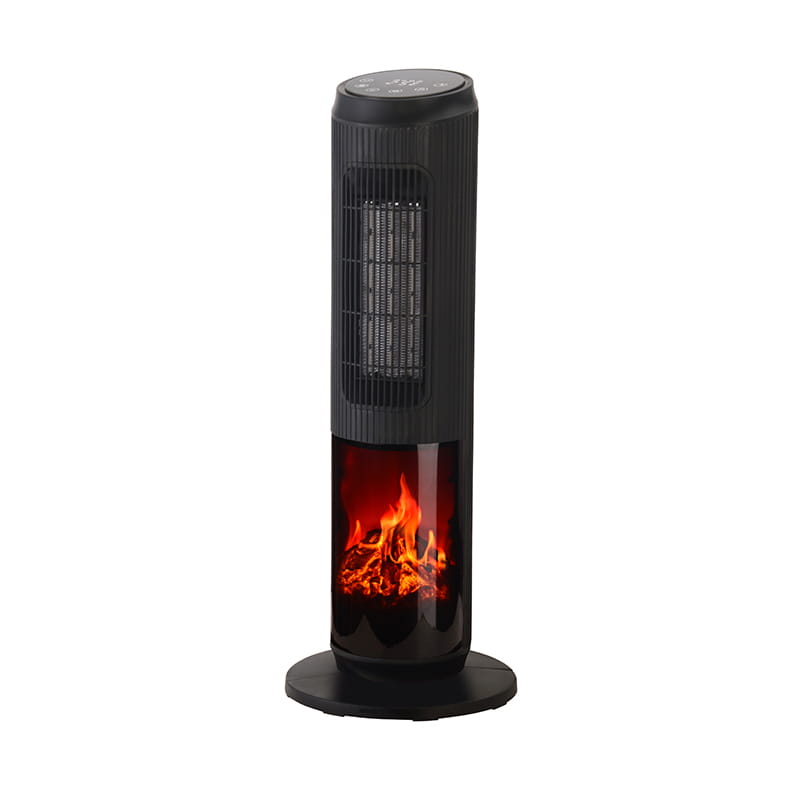
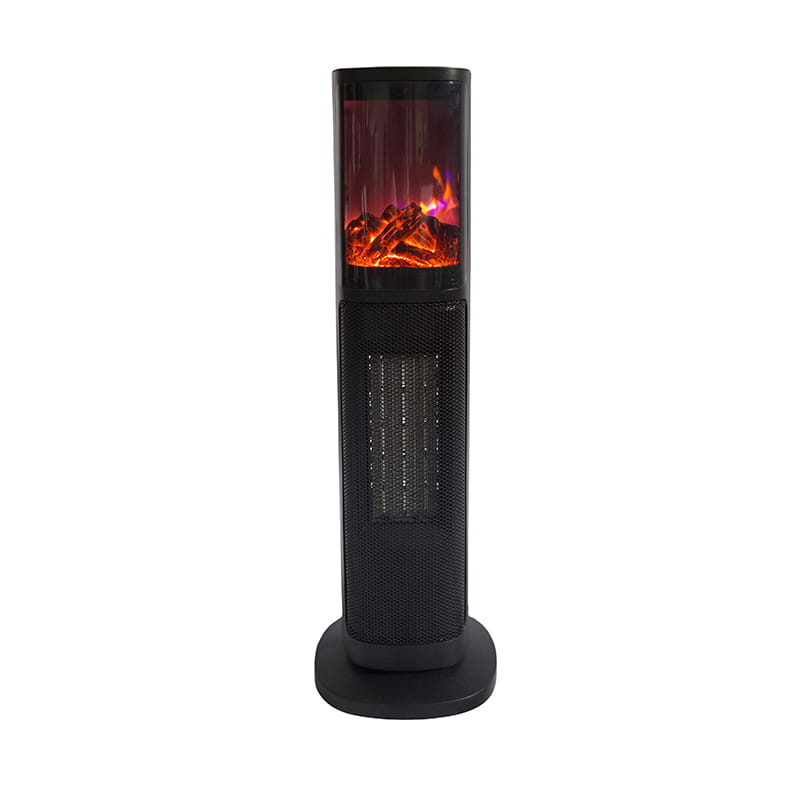
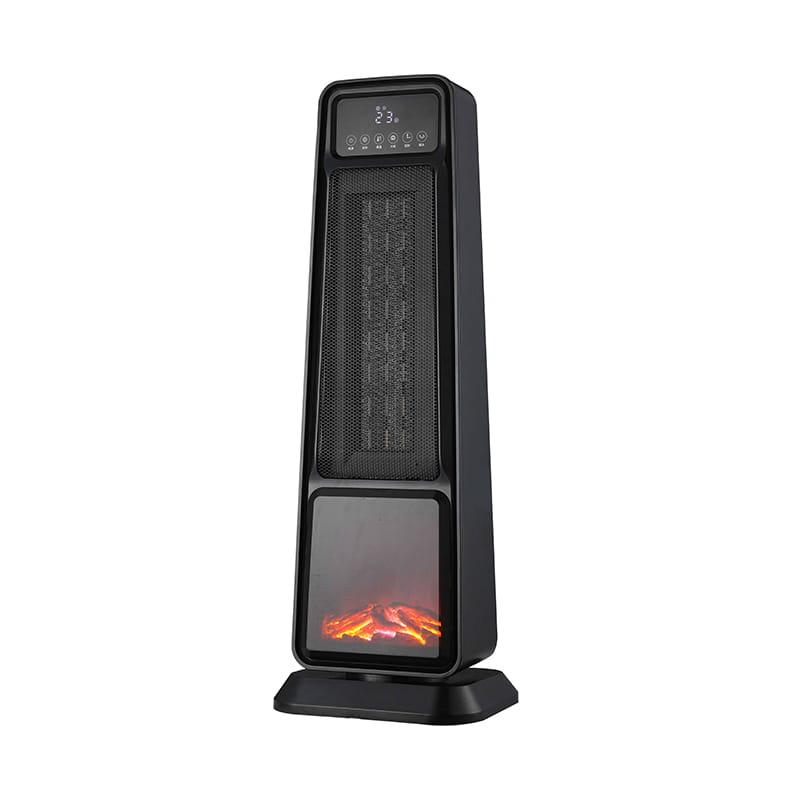
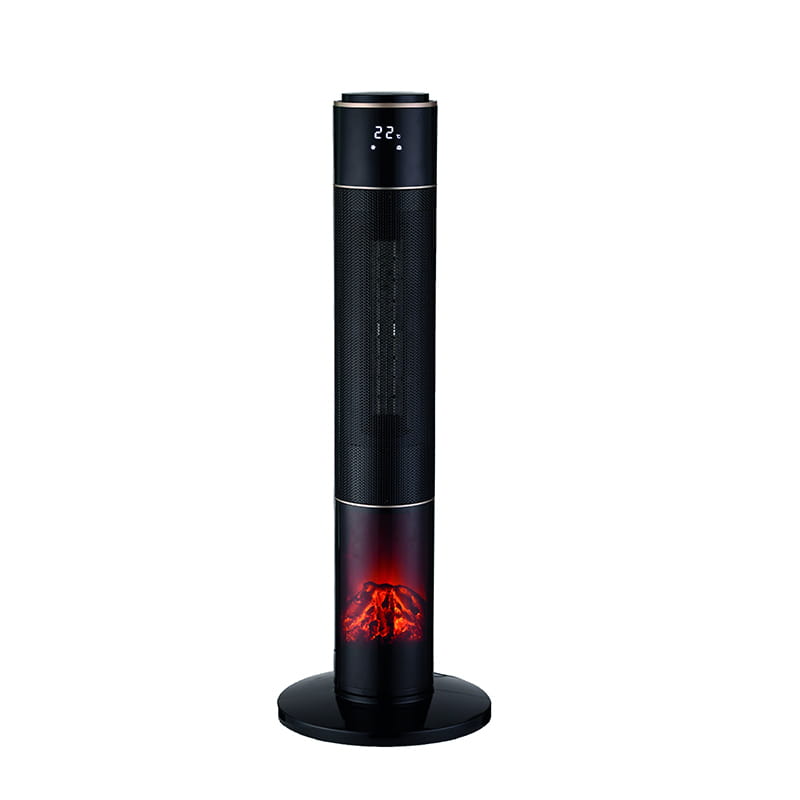
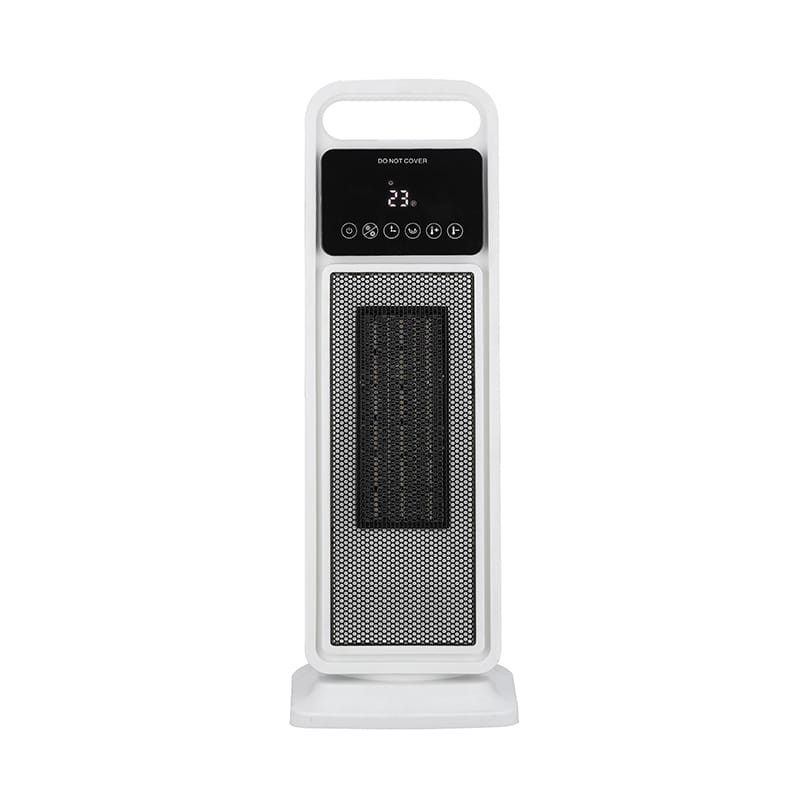
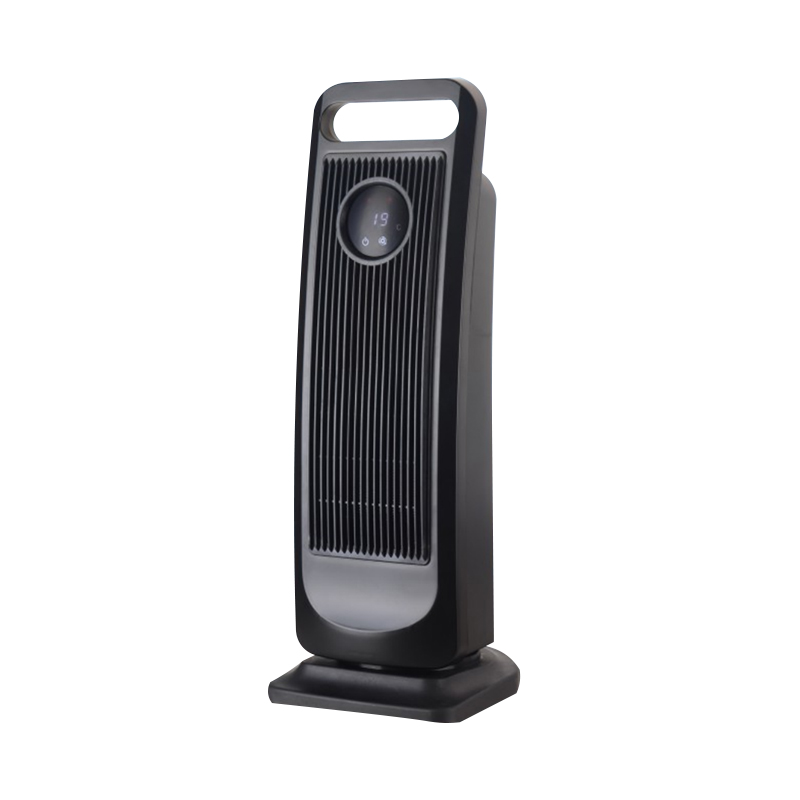
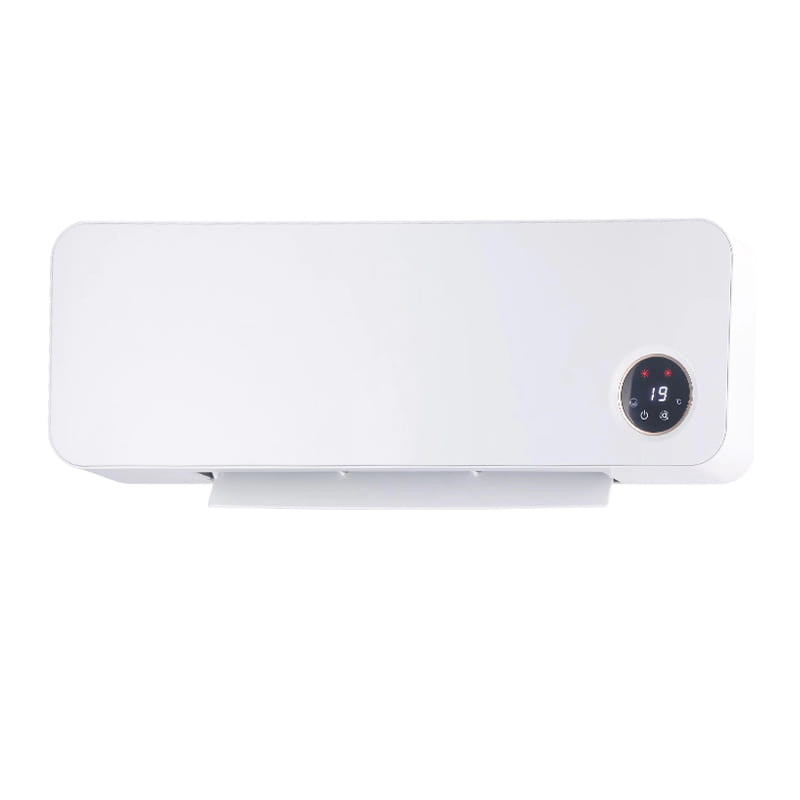
Small and does not occupy space! How does a wall-mounted ceramic heater improve space utilization?
Content
1. Wall-mounted design completely liberates floor space
Does not occupy the floor/desktop: directly installed on the wall, corner or side of the furniture to avoid the problem of traditional heaters "blocking the road".
Flexible installation location: can be fixed on the bathroom wall, bedroom bedside, office filing cabinet, or even behind the door, without affecting walking or furniture placement at all.
Ultra-thin body: The thickness is usually only 10-20cm, which is almost invisible visually and seamlessly integrated with the decoration style.
Examples of applicable scenarios:
Small apartment: No place to put a traditional heater? Wall-mounted installation against the wall, heating is not a problem.
Narrow aisles: Hang on the wall, warm air covers the passage and does not hinder passage.
Children's room: Avoid children from colliding or scalding, safe and space-saving.
2. Efficient heating, small size and high energy
Ceramic heating technology: 3 seconds of rapid heating, more energy-efficient than ordinary heating wires, and longer life.
Wide-angle air supply: supports left and right shaking or multiple wind speeds, and the warm air covers a wider range (some models can reach 180°).
Select power on demand:
Small space (5-10㎡): 800W-1500W, suitable for bathrooms and study rooms.
Medium room (10-15㎡): 1500W-2000W, covering parts of the bedroom or living room.
3. Precautions for installing a wall-mounted ceramic heater
Installation location selection
Recommended location
High on the wall (1.5-2 meters above the ground): hot air naturally sinks and covers a wider range.
Corners or sides of furniture: use idle space to avoid affecting walking.
Bathroom: choose a waterproof model and install it outside the shower area to avoid direct splashing.
Avoid locations
Face the bed/sofa: long-term direct blowing may cause dryness and discomfort.
Wet or splash-prone places (non-waterproof models): may cause short circuits or damage.
Closed and small spaces (such as wardrobes): hinder heat dissipation and cause overheating risks.
Installation method
Drilling and fixing (most stable)
Confirm the wall type:
Concrete/brick wall: drill holes with an electric drill and fix with expansion screws.
Gypsum board/lightweight wall: use special hollow wall anchor bolts to avoid insufficient load-bearing.
Use a level: ensure that the heater is installed horizontally to avoid tilting that affects use.
Punch-free installation (temporary/rental)
Strong adhesive/suction cup: suitable for smooth tiles and glass surfaces, but with limited load-bearing capacity (usually ≤5kg).
Telescopic bracket: adjustable length, suitable for temporary fixation, but need to be checked regularly for looseness.
Power supply safety
Socket requirements:
A three-hole socket with good grounding must be used to avoid the risk of leakage.
For models with power ≥1500W, it is recommended to supply power with a separate circuit to avoid sharing the socket with other high-power appliances.
When installing in the bathroom, the socket must be equipped with a splash-proof box or kept at a safe distance (≥1.8 meters from the ground).
Wire management:
Avoid entanglement or pressing of the power cord under furniture to prevent aging and damage.
If the wire is too short, an extension cord can be used.
Safety reminders
Prohibited operations:
Do not cover the air outlet or air inlet (affects heat dissipation and may cause fire).
Do not hang clothes on the heater (blocks hot air circulation and is prone to overheating).
Do not install near flammable materials (such as curtains, paper, alcohol, etc.).
Regular maintenance:
Clean the air inlet filter every month (dust accumulation affects heating efficiency).
Check whether the fixing screws/tapes are loose, especially for punch-free installation, which requires more frequent inspection.
-
Feedback

 English
 Deutsch
 中文简体
中文简体
