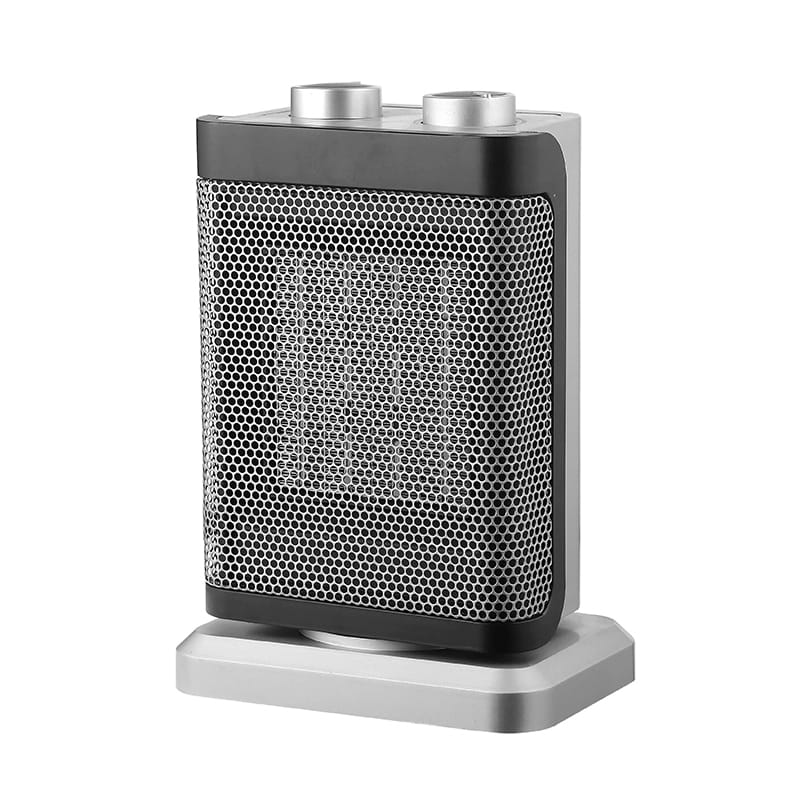
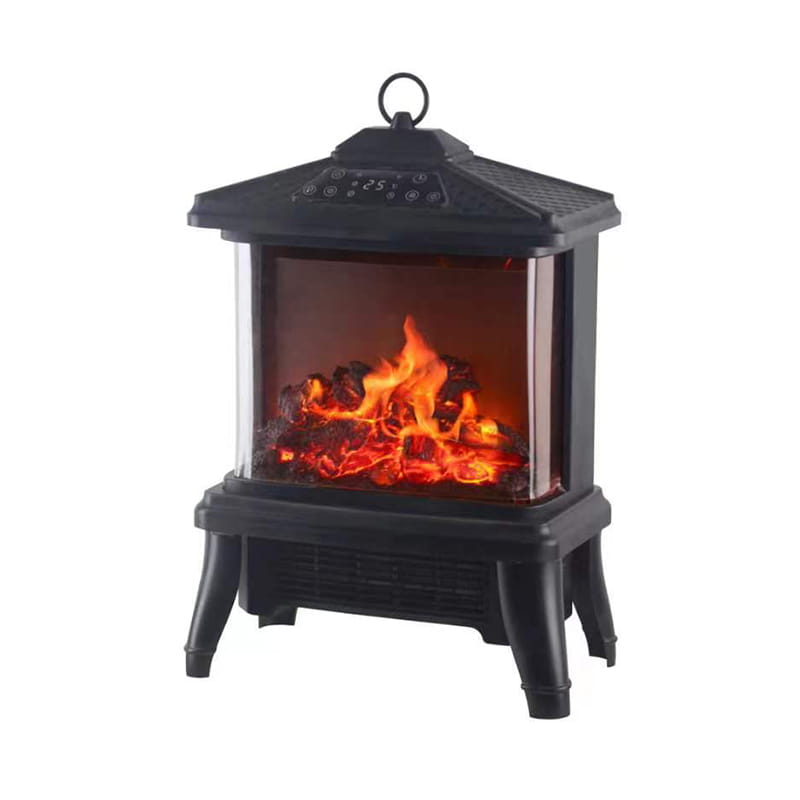
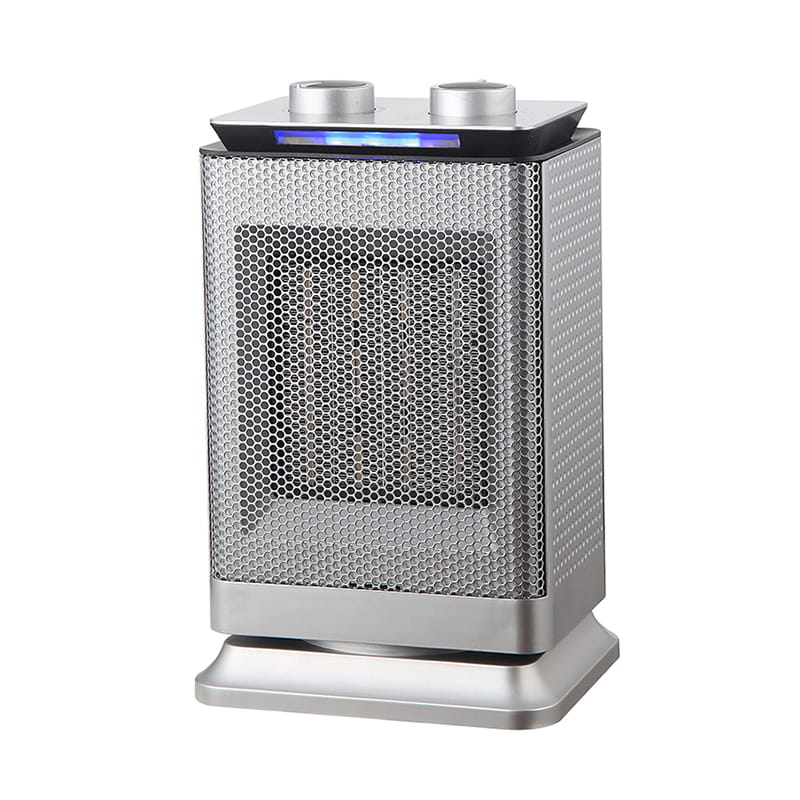
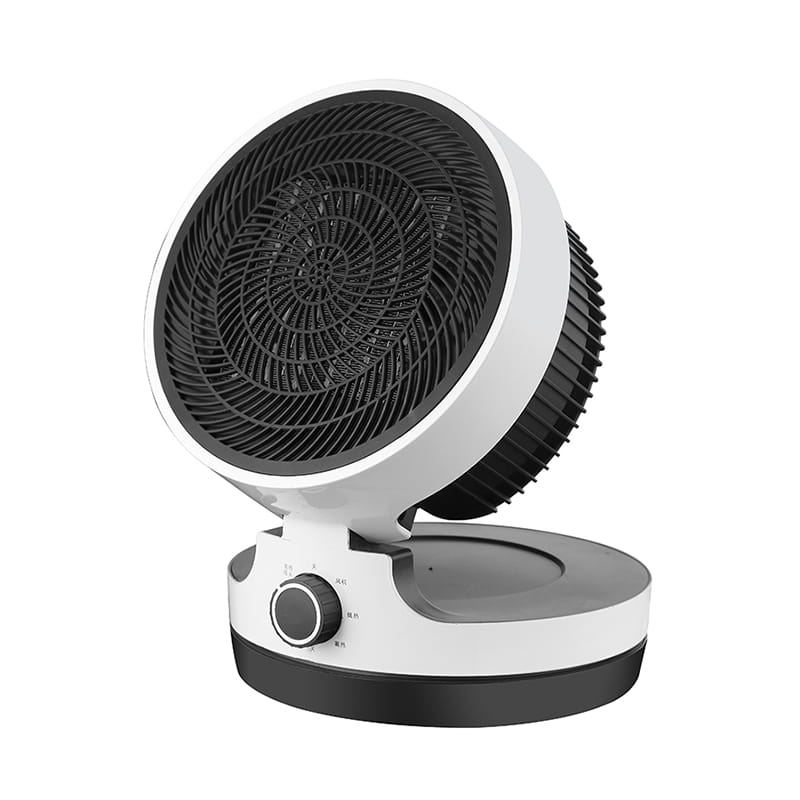
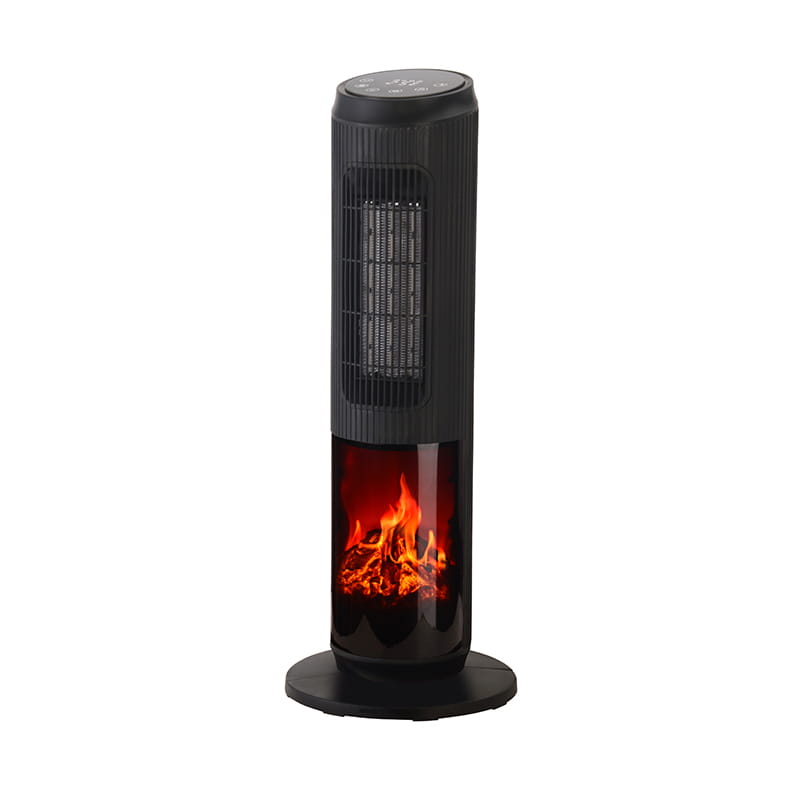
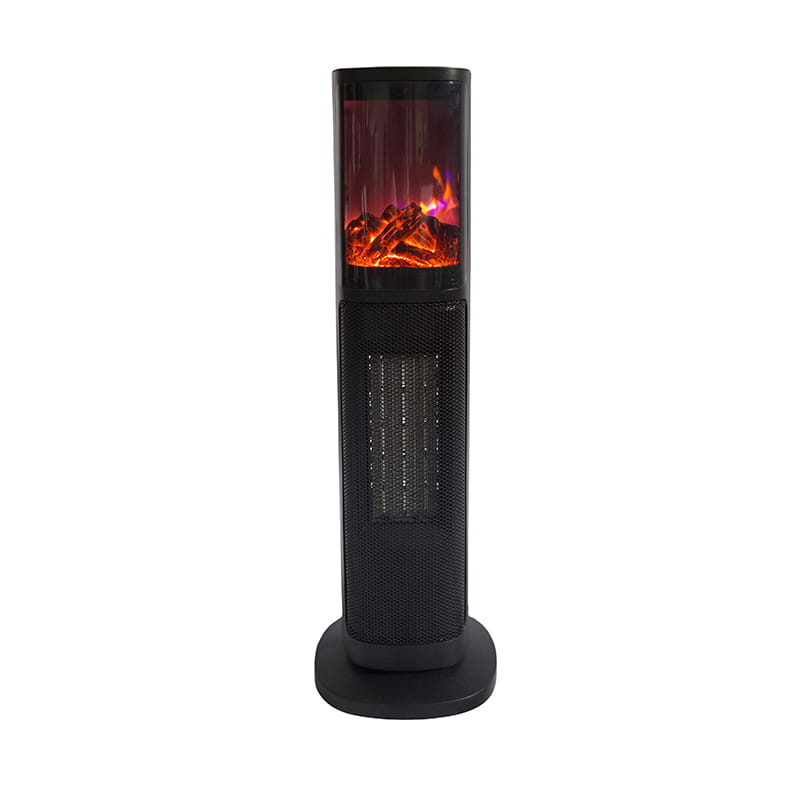
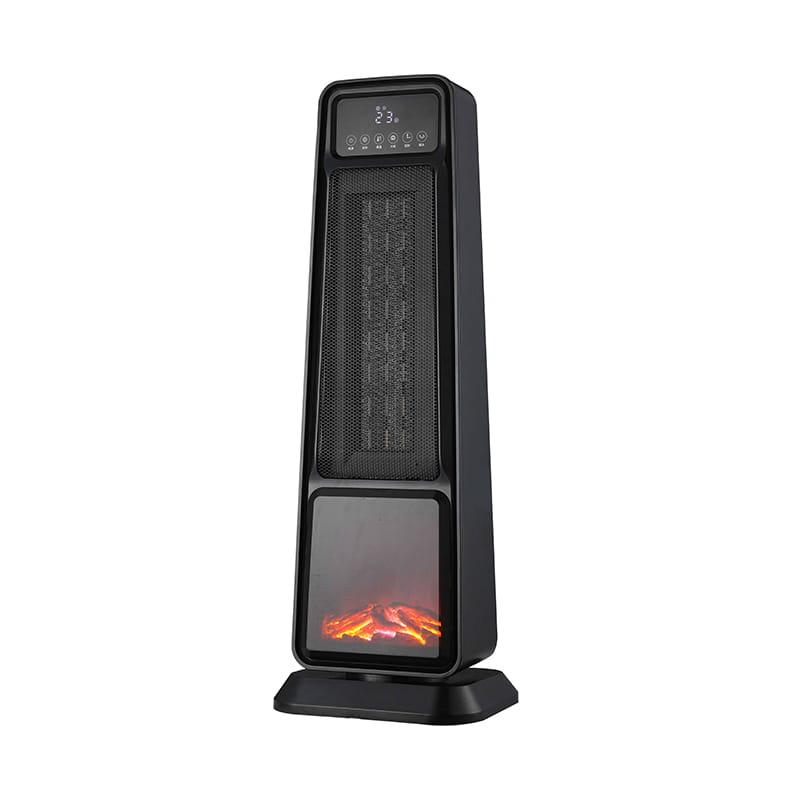
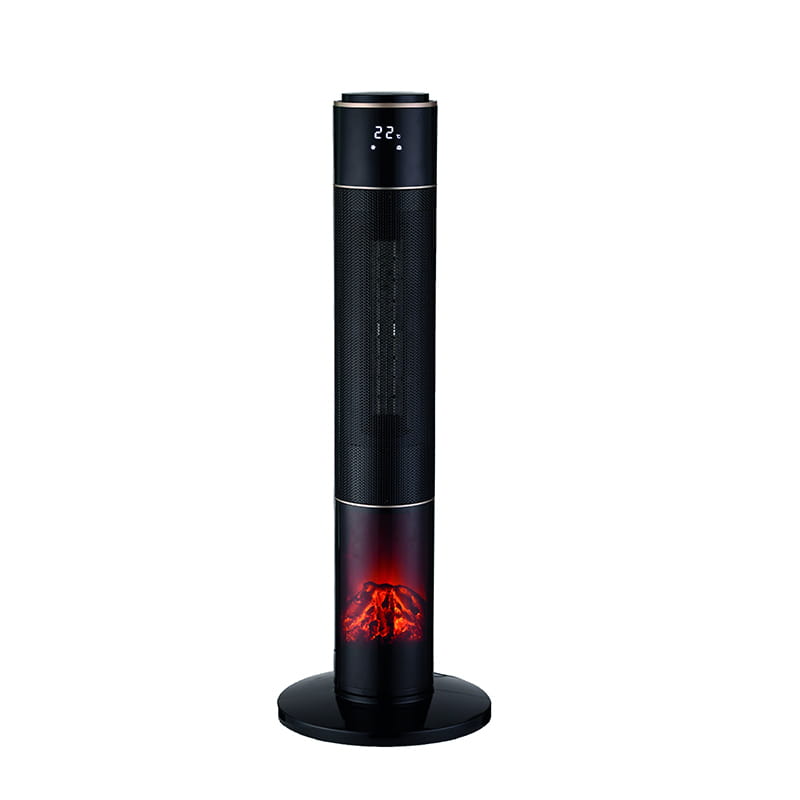
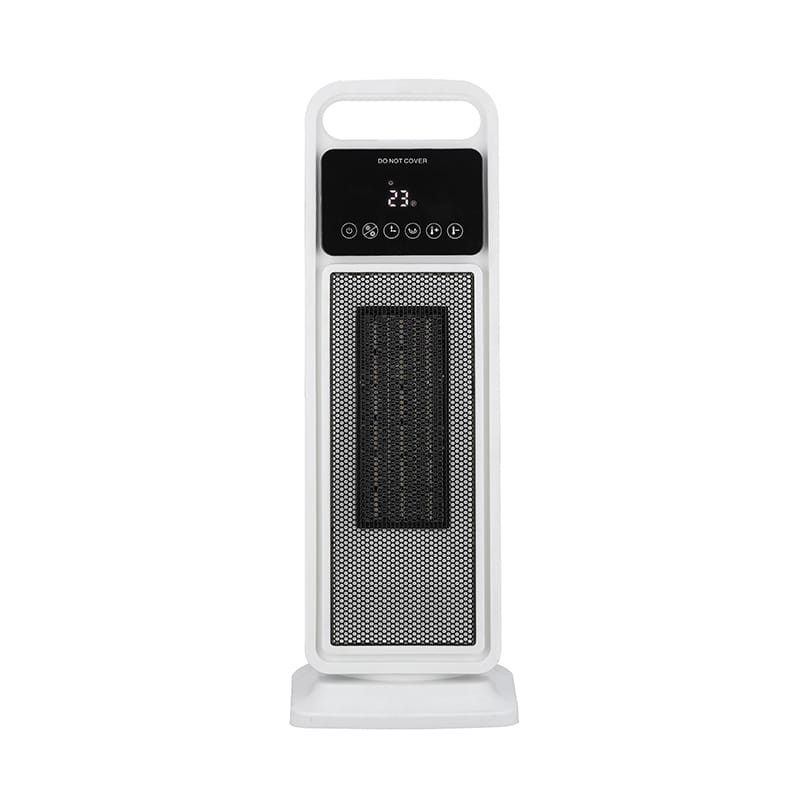
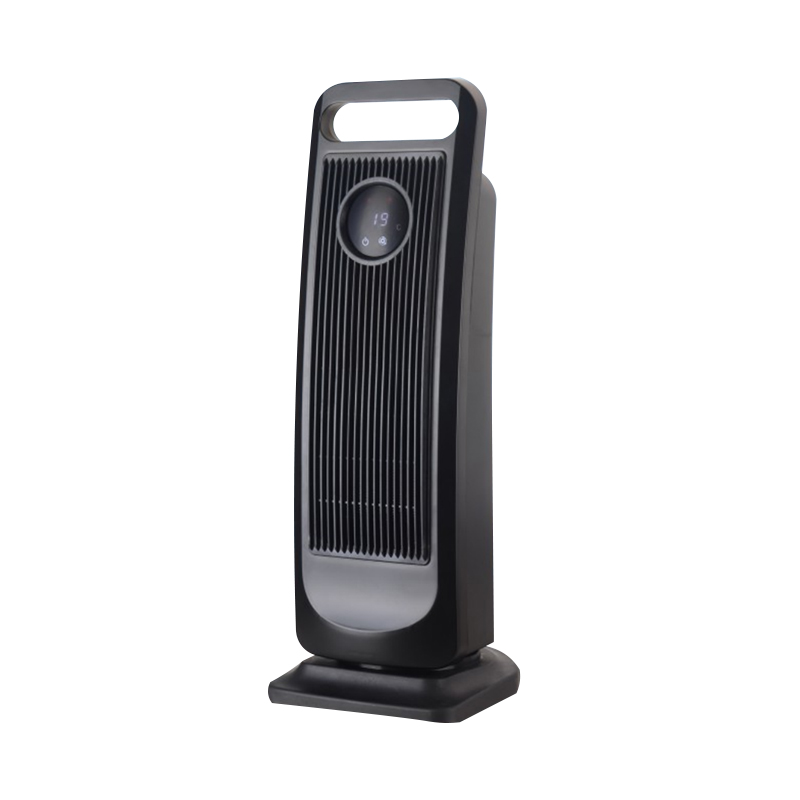
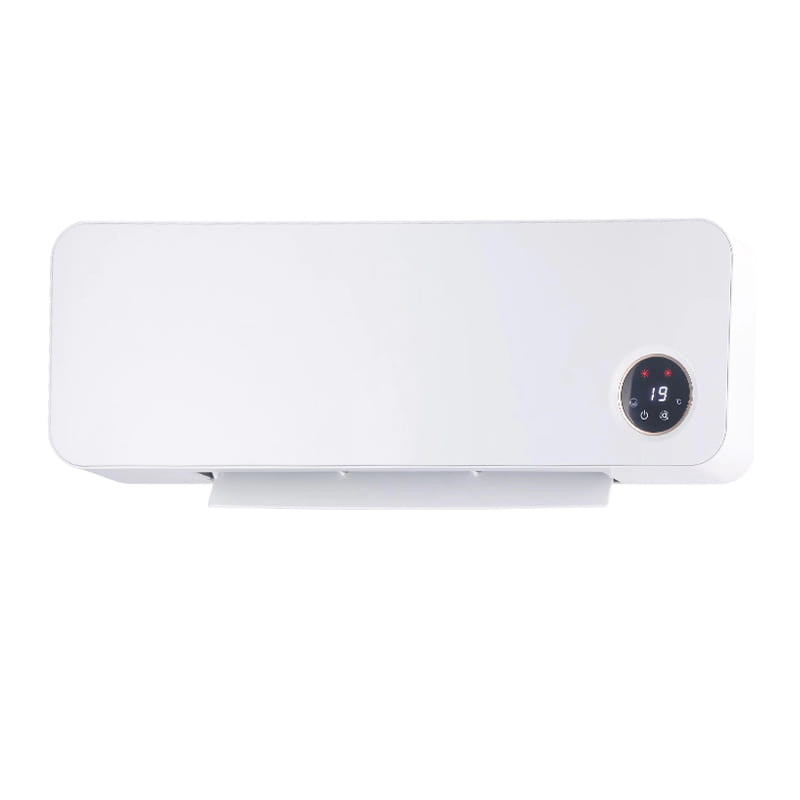
How to properly install a wall-mounted ceramic fan heater?
Content
1. Pre-Installation Preparation
Tools and Materials: Electric drill, level, screwdriver, expansion screws (usually included with the machine), marker, wire (4mm² copper core wire is recommended), leakage circuit breaker (16A or higher).
Required Accessories: Check the package for the wall mount bracket and installation template (positioning cardboard).
Installation Environment Requirements
Wall Type: Applicable only to load-bearing walls or solid brick walls (thickness ≥ 20cm). Installation on lightweight partitions, gypsum boards, or hollow bricks is strictly prohibited.
Mounting Height: Recommended 1.8-2.2 meters above the ground (to keep out of reach of children and provide a wider hot air coverage area).
Space Requirements:
Allow at least 30cm of free space for heat dissipation at the top;
No obstructions (curtains, furniture, etc.) within 1 meter of the air outlet.
2. Wall-Mounted Ceramic Fan Heater Installation Steps
Step 1: Circuit Safety Check
Dedicated Power Supply: A separate 4mm² copper wire must be run from the distribution box, and a separate leakage protection circuit breaker must be installed (power reference: a 2000W heater requires a 16A circuit breaker).
Prohibited: Do not plug directly into a regular outlet (overload and fire hazard)!
Step 2: Bracket Positioning and Drilling
Use the mounting template (or the bracket itself) against the wall and use a level to adjust the position.
Mark 4-6 drilling points (the specific number depends on the bracket hole location).
Drill depth ≥ 5cm (to accommodate the length of the expansion screws), with a hole diameter that matches the screws (usually 8-10mm).
Step 3: Secure the Bracket
Drive the expansion screws into the holes and tighten the bracket with a wrench (ensure there is no wobble).
Step 4: Mount the Main Unit
Lift the heater and align it with the bracket slots to lower it downwards.
Check that the unit is secure (if it cannot be pushed manually, it is acceptable).
Step 5: Wiring and Powering on
Professional Operation: Performed by a licensed electrician! Remove the junction box and connect according to the markings:
L (live) → brown wire
N (neutral) → blue wire
Ground → yellow-green wire (ground is essential!)
Wrap the connector with insulating tape and securely close the junction box.
3. Key Safety Specifications
Grounding requirements are mandatory: Do not use without a ground wire! Older homes require electrical wiring modifications.
Waterproof and moisture-proof: Do not install in damp areas such as bathrooms and kitchens (unless the product is marked with an IPX4 waterproof rating or higher).
Wall load-bearing verification: Single-point load must be ≥ the machine weight x 2 (e.g., a 10kg machine requires a load of at least 20kg).
4. Post-installation testing
Stability test: Gently shake the machine with both hands to confirm it is secure.
Functional check: Turn on the machine and test each setting (cold → low heat → high heat) for proper operation. Observe for any unusual sounds or burning odors.
Safety verification: Test the residual current circuit breaker: Press the "T" button and it will trip immediately, indicating normal operation. High-risk operation warning
Misconception 1: Using plastic expansion tubes instead of metal expansion screws → easy to soften and fall off at high temperatures!
Misconception 2: Connecting the power cord in reverse (interchanging the neutral and live wires) → causing a short circuit in the machine!
Misconception 3: Ignoring the ground wire → may cause an electric shock accident!
5. Daily maintenance of Wall Mounted Ceramic Fan Heater
(1) Regular cleaning (frequency: once a month)
Power off and cooling: Before maintenance, be sure to unplug the power supply and wait for the machine to cool down completely (at least 30 minutes).
Inlet and outlet cleaning
Inlet (back/bottom): Use a soft brush of a vacuum cleaner to remove dust, or wipe gently with a damp cloth (avoid dripping water).
Outlet (front): Use a cotton swab dipped in alcohol to clean the dust accumulated in the grille gap. Do not poke the ceramic heating element with sharp objects!
Filter cleaning (if configured): Remove the filter → Rinse with running water → Dry in the shade for 24 hours → Reinstall (Do not expose to the sun or dry in a dryer to prevent deformation).
(2) Circuit safety inspection (frequency: once every quarter)
Power cord status: Check for broken skin, aging and hardening, or loose interfaces (especially at the connection with the machine body).
Leakage protection test: Press the "T" test button of the corresponding circuit of the distribution box to confirm that it trips immediately (self-inspection every month, professional inspection every quarter).
Junction box tightening: Have an electrician open the junction box and confirm that there are no burn marks and no loose screws.
(3) Key operations for maintaining performance
Moisture and rust prevention: In humid areas, wipe the metal parts of the machine body (such as bracket screws) with a dry cotton cloth every month and apply a small amount of anti-rust oil.
Abnormal noise treatment: "Buzzing" sound occurs during operation: Check whether the air inlet is blocked; if there is a metal friction sound, contact after-sales service to inspect the fan bearing.
Countermeasures for reduced heating efficiency: Aging of ceramic heating element (used for more than 3 years) → Professional resistance value detection is required. If the deviation is greater than 15%, it is recommended to replace it.
-
Feedback

 English
 Deutsch
 中文简体
中文简体
