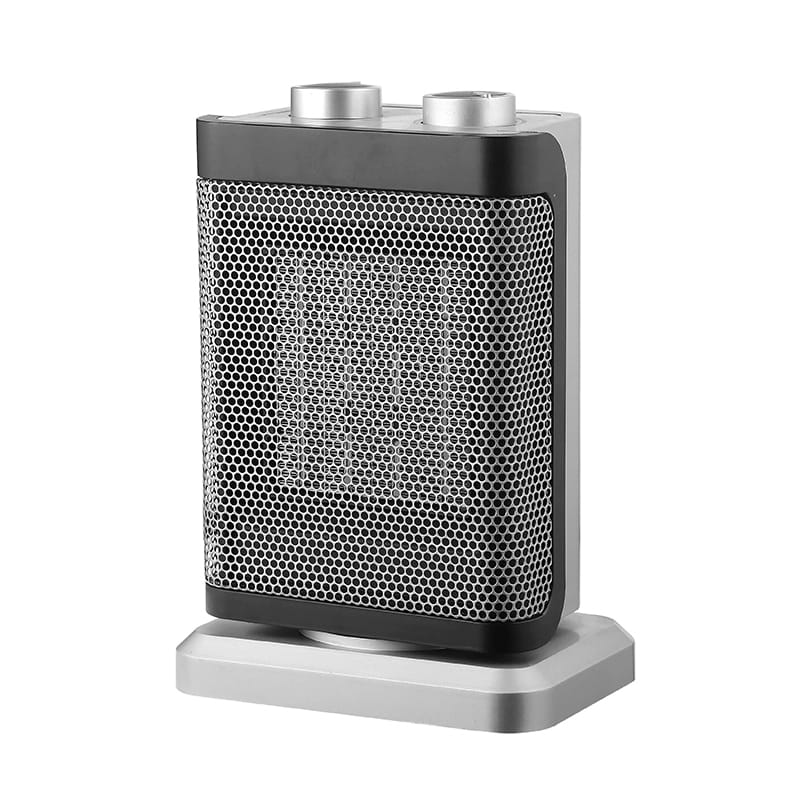
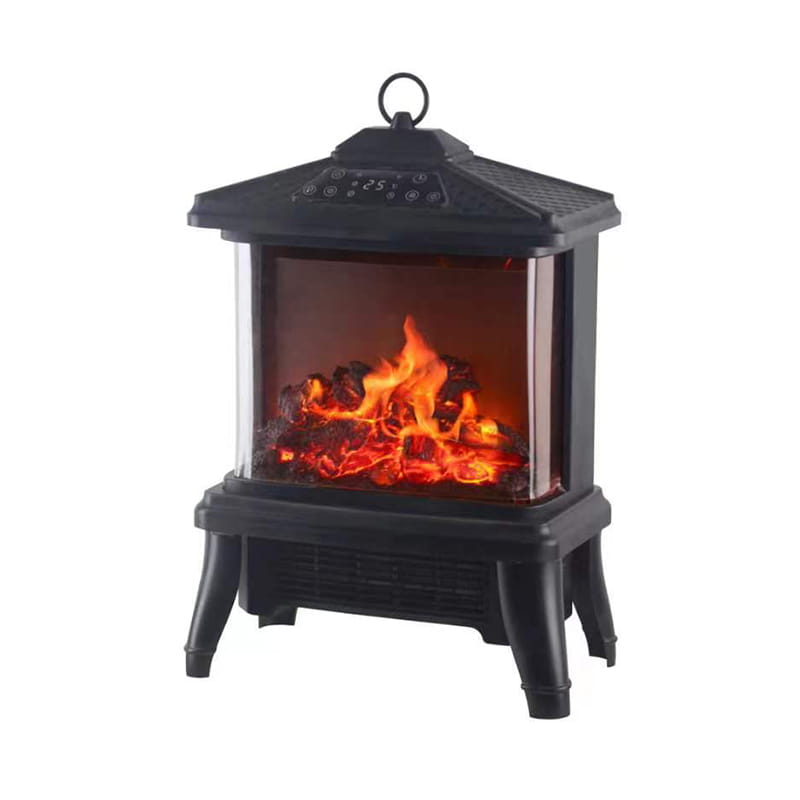
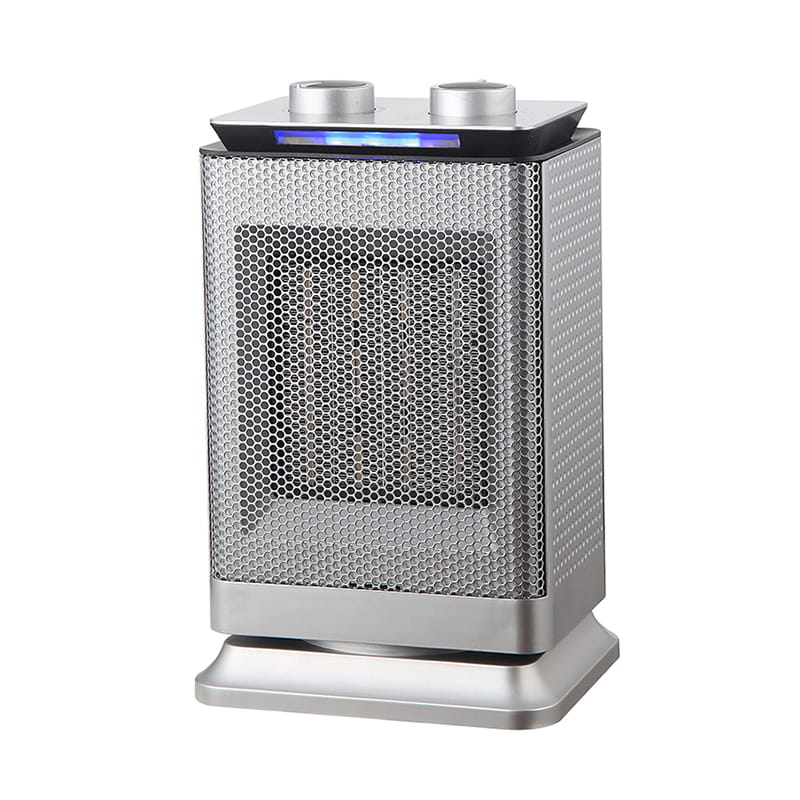
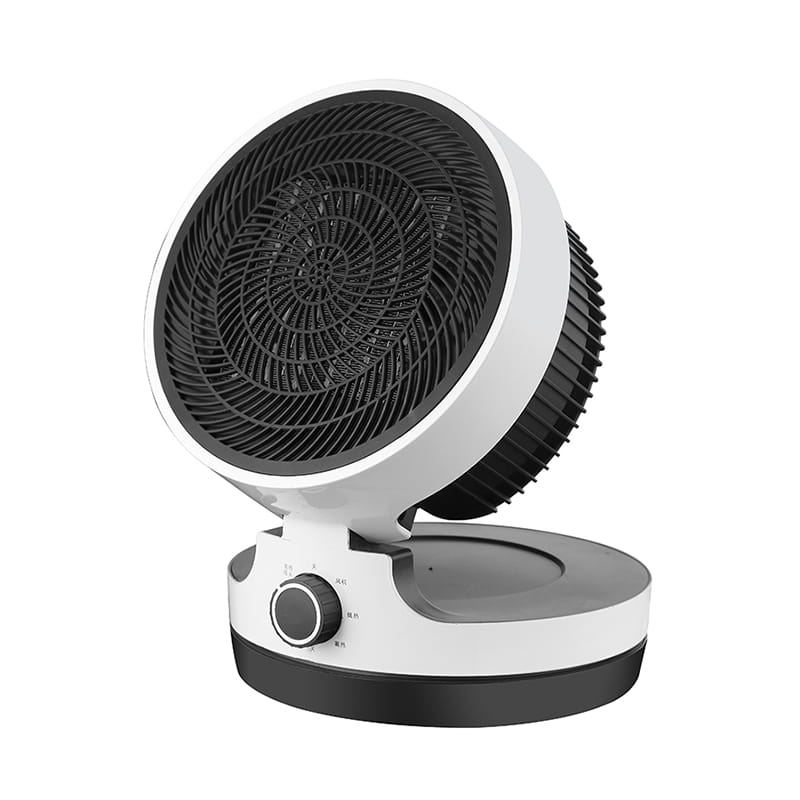
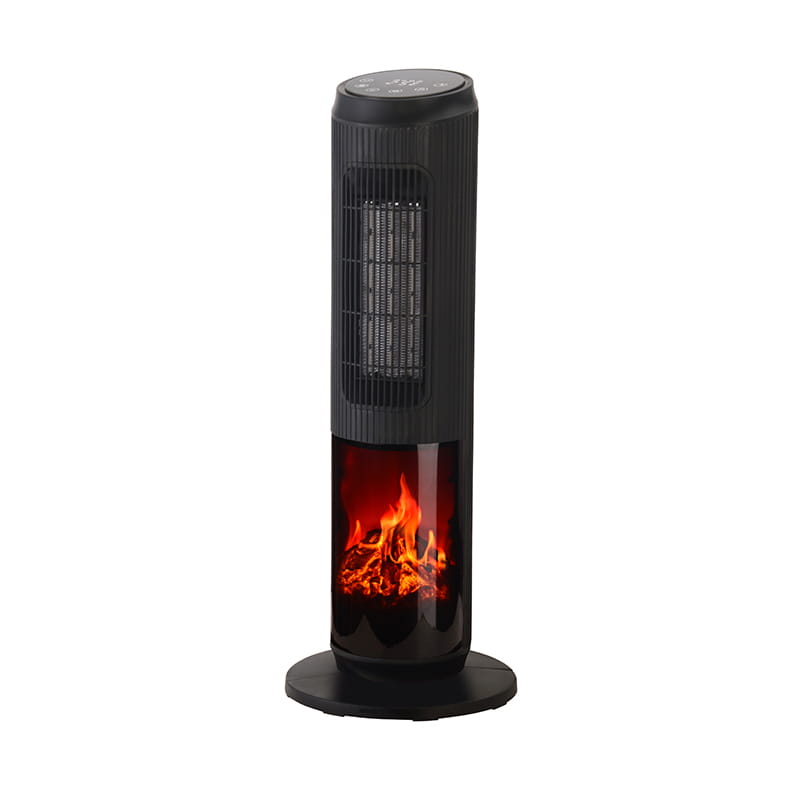
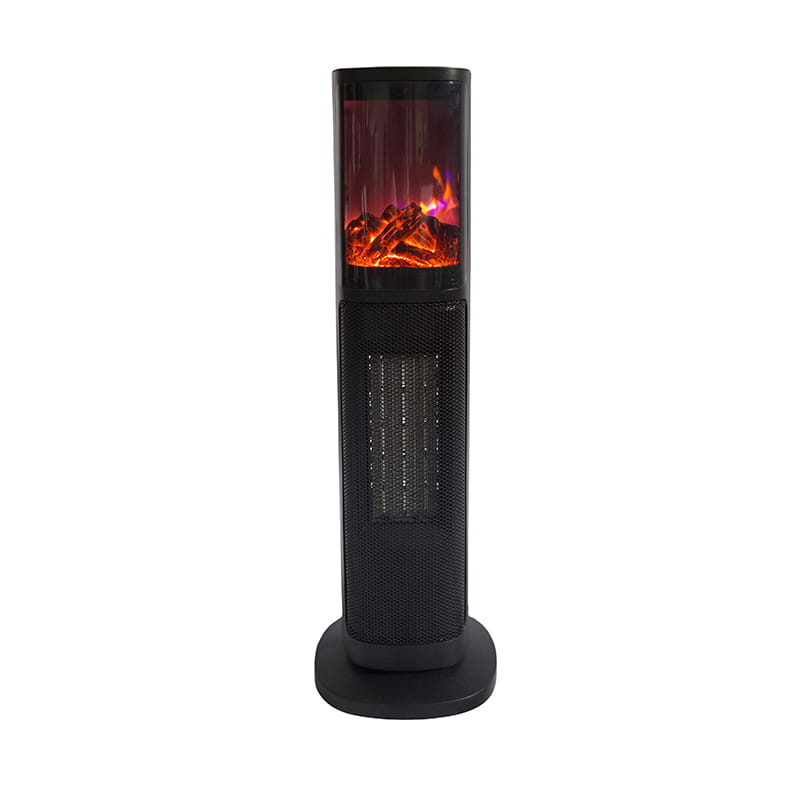
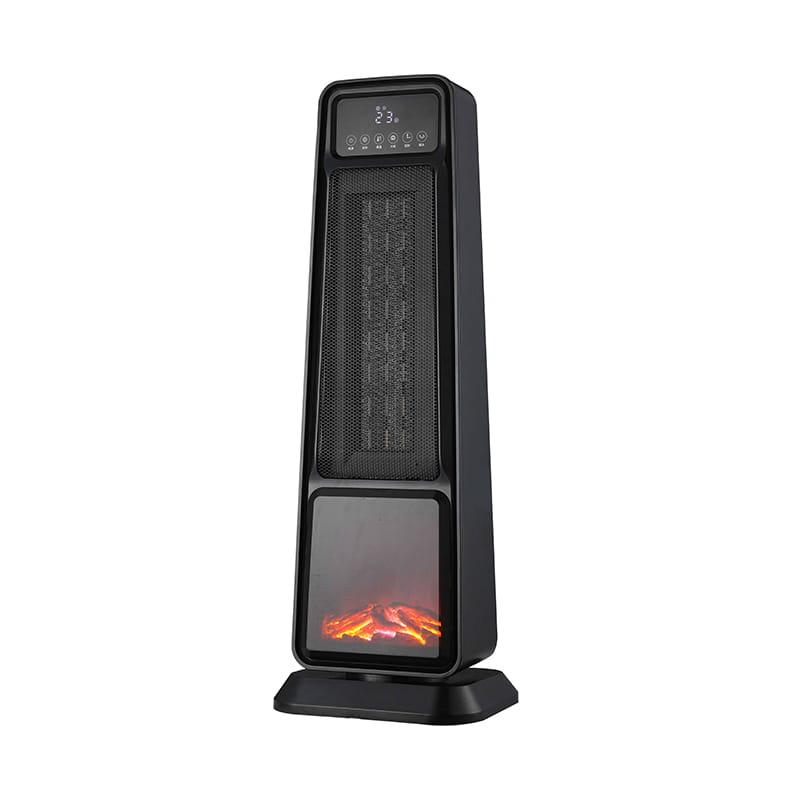
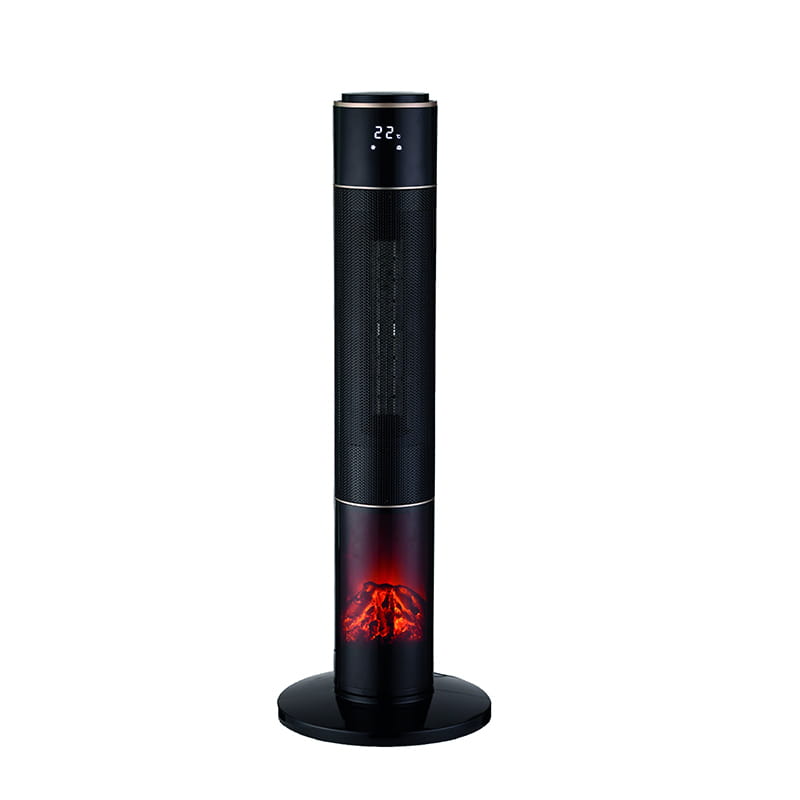
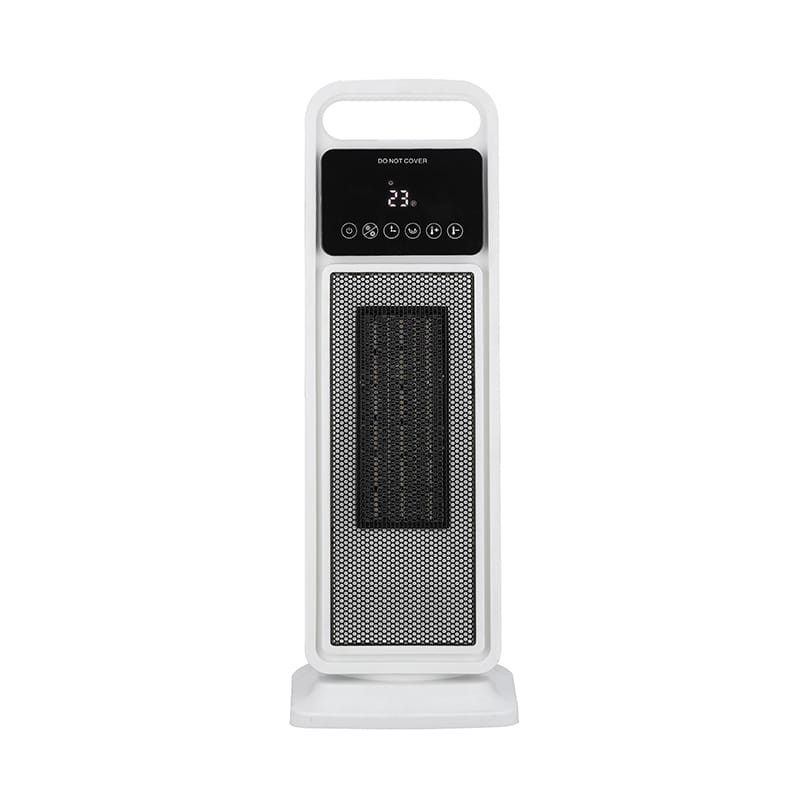
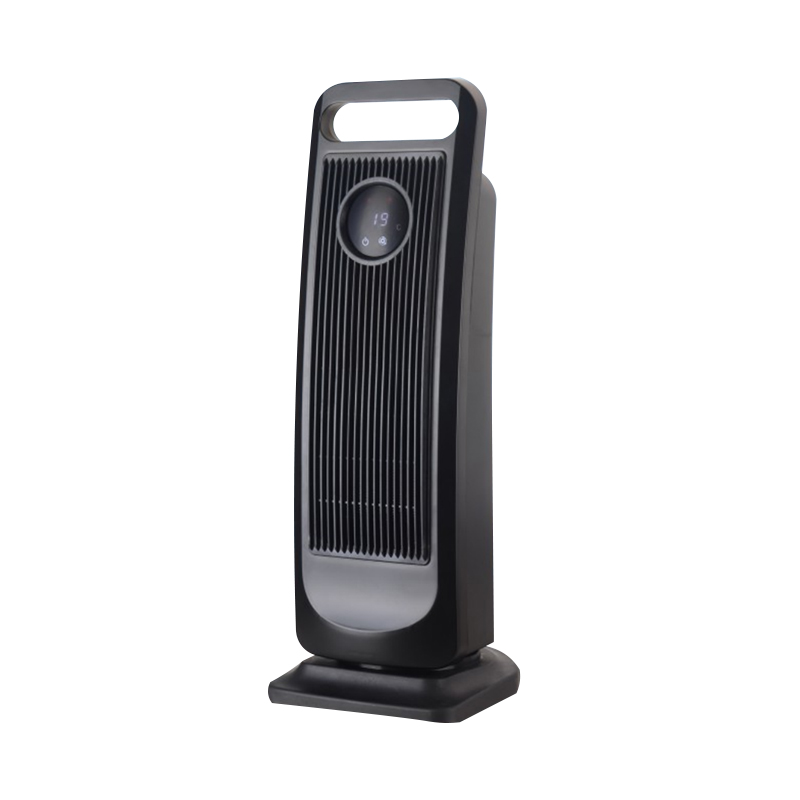
Do tower ceramic fan heaters need cleaning?
1. Why is it necessary to clean a tower heater?
Safety First (the most important reason!):
Fire Hazard: Dust and lint can accumulate inside the heater (especially around the heating wire and ceramic heating element). These combustible materials can ignite at high temperatures, causing a fire.
Electrical Short Circuit: Excessive dust can cause internal circuits to short, leading to equipment failure or even danger.
Maintaining Heating Efficiency:
Dust and lint can coat the ceramic heating element and internal air ducts like a blanket, severely affecting heat dissipation and heat transfer.
This causes heat to accumulate inside the unit, increasing power consumption and reducing heating efficiency. It can also trigger overheating and trigger automatic shutdown.
Maintaining Air Quality and Health:
When a heater is running, the fan blows out dust and odors, circulating them indoors. This is very harmful to people with allergies or respiratory sensitivities.
Extending the lifespan:
Regular cleaning prevents long-term dust accumulation and corrosion of internal components, ensuring smoother operation of the motor and fan, significantly extending the lifespan of the unit.
2. How to properly clean a tower ceramic fan heater?
Core principle: Safety first! Before any cleaning, always follow these steps:
Disconnect the power cord: Unplug the unit and wait for it to cool completely. This is an absolutely essential step!
Cleaning steps (from outside to inside, from easy to difficult):
Part 1: Cleaning the exterior and air inlet/outlet vents (recommended 1-2 times a month)
Exterior: Wipe the exterior with a soft cloth dampened in clean water or a diluted neutral detergent solution. Avoid using chemical solvents such as gasoline or alcohol to avoid damaging the plastic exterior.
Inlet and outlet grilles: This is where dust is most likely to accumulate.
Use a soft-bristled brush (such as a paintbrush or old toothbrush) or the soft-bristled brush attachment on a vacuum cleaner to carefully remove dust and lint from the inside and outside of the grilles.
Part 2: Internal Deep Cleaning (recommended before or after use every season, or based on dust accumulation)
Warning: If you are unfamiliar with appliance mechanics, or if the product manual explicitly prohibits user disassembly, skip this step and contact a professional for cleaning.
Removing the Casing: If your heater is designed for user-friendly cleaning (please refer to the product manual), you can usually remove the back cover or casing by unscrewing a few screws.
Cleaning the Fan Blades: After opening, you will see dust accumulated on the fan impeller. Carefully clean it with a soft-bristled brush and vacuum cleaner.
Cleaning the Ceramic Heating Element: This is the core heating component. Again, use a soft-bristled brush to gently brush away any dust. Be gentle to avoid damaging the fragile ceramic.
Cleaning the Internal Circuit Boards and Other Components: Use a blower (likely a typo) or a hair dryer on the cold setting to remove dust; never wipe with a damp cloth.
After cleaning:
Ensure all components are completely dry, then reassemble the casing as designed and confirm that it is securely installed.
3. Cleaning Frequency Recommendations
Daily/Weekly: Wipe the casing with a dry cloth. Monthly or during frequent use: Perform the first section of the exterior grille cleaning.
Before or after each season: Perform a thorough interior deep clean to prepare for the season or before storage.
At any time: If you smell a burning odor, notice a noticeable decrease in heating performance, or the machine overheats abnormally, stop use immediately and inspect it for cleaning.
-
Feedback

 English
 Deutsch
 中文简体
中文简体
